Thank you for your contributions, everyone! Just a quick note that this feature request has already been delivered. If you need further assistance or have questions about using this feature in Miro, feel free to reach out or check out the relevant guides. 😊
For advertising and other reasons, the most frequent photo modification required is to remove or change the backdrop or background from an image. Newspapers, periodicals, fashion magazines, catalogs, posters, flyers, and other forms of advertising must accomplish this before attempting other sorts of picture alteration. For a long time, there has been a significant growth in sales through e-commerce websites. As a result, the demand for product photo background removal or replacement is rapidly growing.
Most of the time, simply changing the background is insufficient. Photographic adjustments such as brightness, contrast, levels, and so on must be made. If you are not going to conduct the picture alteration yourself, make sure to ensure that the image manipulation provider will also do this. If you hire a competent graphic design business, you may be able to obtain some free revisions. Because a reputable company would strive to deliver the finest results for the least amount of money.
Today we’ll learn how to delete the background and then create a new background.
Is it a lot of work? But I’ll make it simple by walking you through the procedure step by step.
STEP: 1
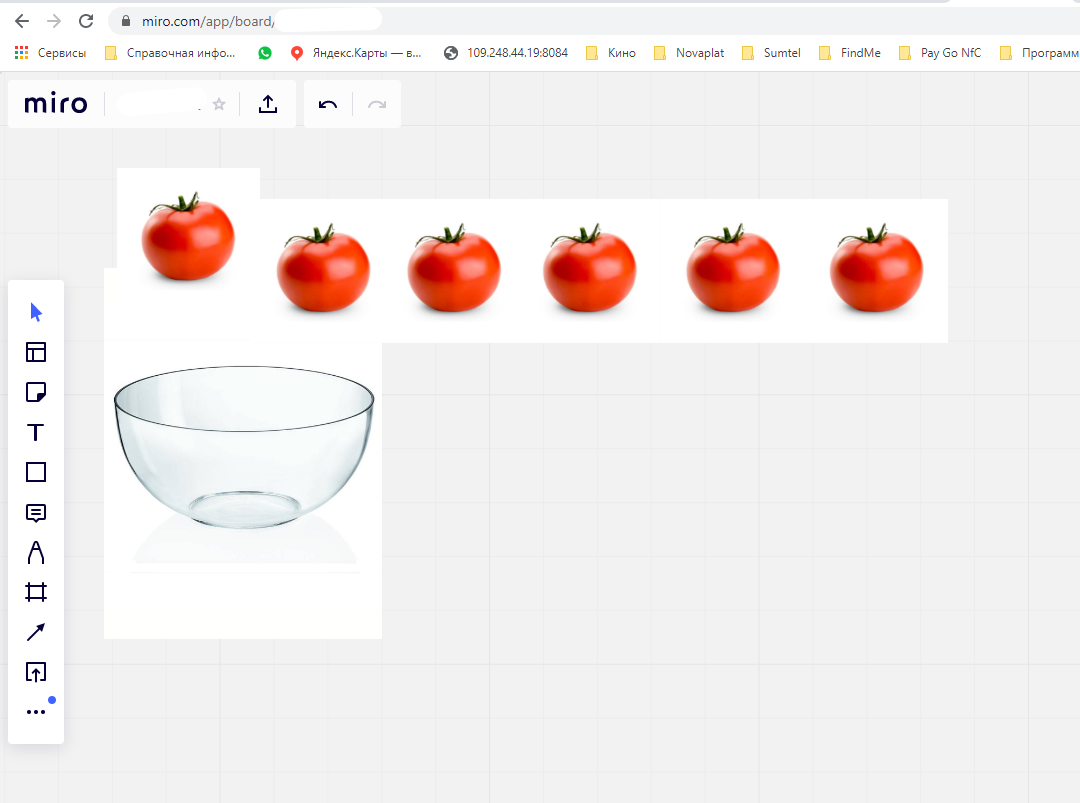
First of all, you’ll need to run the software Adobe Photoshop. After that, open your raw photo on which you want to remove the photo. Even if you didn’t change anything on the photo, I would recommend you to save as the project with your project name in a (.psd) format. In my case, I saved it by “Tutorial” which you can see on the above screenshot of the background removing project.
After opening the raw photo, you’ll see the image in a tiny image box on the left side of the layer panel. Click on the image layer and press CTRL+J (WINDOWS) / Command+J (MAC) to duplicate the image.
Click here to read more about Adobe Photoshop keyboard shortcuts.
STEP: 2
For the next step, we’ll follow the clipping path technique in order to select the object and remove the photo's background professionally. That’s why you’ll use the Photoshop advance tool is called pen tool. You can find the tool on the left side of the canvas (As you can see the pen tool in the above screenshot).
STEP: 3
Click on the pen tool and start drawing path on the edge of the object. By doing this, we’re actually selecting the object for not removing this part and later on we will select the object and remove the rest of the part.
STEP: 4
When you’ll end up finishing the path drawing, you’ll click on the duplicate image layer photo and press CTRL+ENTER (WINDOWS)/Command+ENTER (MAC) to select the paths.
STEP:5
You may remove the background just by creating a vector mask over the layer. But we’re not going to do this for now. We’re gonna give it more professional look. For that, you’ll need to go to this path Select>Modify>Feather. After that give the feather amount 3/4 and then press OK. This will do smooth the edges of the object.
STEP - 6
Check out this article for the the full tutorial. I hope it’ll be worth learning. In that article they’ll also teach you to remove background in a various way with various Adobe Photoshop Tools.
There are several ways to remove a background from a photo, depending on the editing program you are using. You can use masking or other complex selection or removal techniques, or you can use a simpler program such as Adobe Photoshop to quickly remove a background.
1. Open the photo in Adobe Photoshop.
2. Select the “Magic Wand Tool” from the toolbar.
3. Click on the area in the photo that you want to remove.
4. Click on the “Refine Edge” button at the top of the window.
5. Use the “Feather” and “Shift Edge” sliders in the “Refine Edge” window to refine the selection.
6. Click “OK” to complete the selection.
7. Click on the “Edit” option at the top of the window and select “Fill” from the list of options.
8. Select “Background Color” from the list of “Fill Contents” and click “OK”.
Thank you for your contributions, everyone! Just a quick note that this feature request has already been delivered. If you need further assistance or have questions about using this feature in Miro, feel free to reach out or check out the relevant guides. 😊
🧼 Beginner-Friendly Steps to Remove Image Background
Whether you're editing for eCommerce, social media, or personal use, here are the easiest and most effective ways to remove image backgrounds—even if you're just starting out!