Answered

How do I move a line with multiple points?

  • 19 December 2020
  • 3 replies
  • 981 views

Userlevel 4
Badge +1
  • Experienced Community Member
  • 78 replies

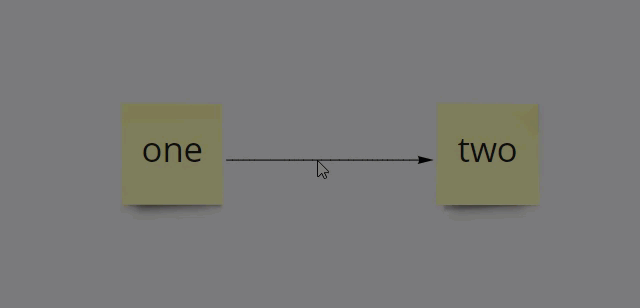
When I move a line, I have to adjust multiple points. I want to make quick, visual adjustments. Is there a better way to do this?

icon

Best answer by Robert Johnson 19 December 2020, 16:39

View original

This topic has been closed for comments

3 replies

Userlevel 7
Badge +12

@jtk - I assume you are referring to moving a line that is connected to at least one object by using the white and blue bullet points?

What do you mean by, “quick, visual adjustments”? Every time the line is adjusted using a blue bullet point, one or more blue bullets appear to facilitate even more adjustments:

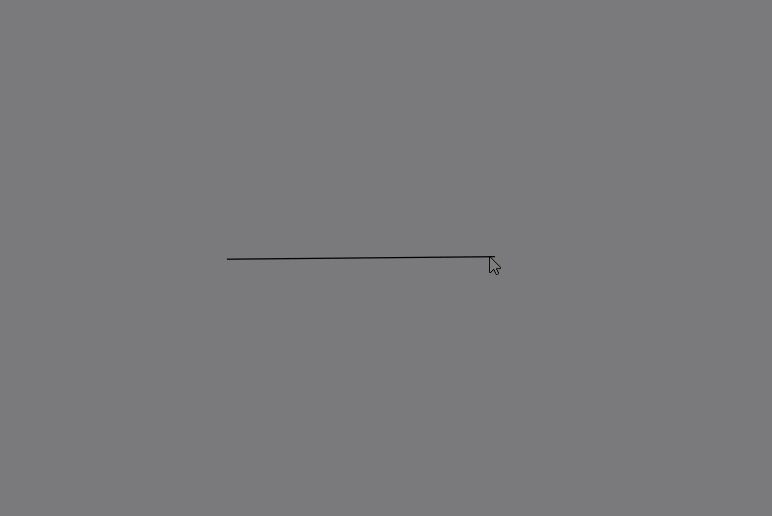
Until Miro creates a “smart line” that automatically bends around other objects and tries to anticipate where the user wants the line to go, I believe bullet points are our only option.

After reading the Connection Lines help center article to better understand the available options, I did learn about the Ctrl/Cmd + drag shortcut to stop the lines from automatically joining nearby objects. The Shift + drag shortcut is also handy to snap the line in 45 degree increments:


Userlevel 4
Badge +1

I am referring to that, yes. I can’t remember which competitor allows you to adjust different parts of a line. For example, with a line that has a right angle, you can move a section of the line and it will adjust not only the full line you want to move, but also where you the angle intersects. It allows you to adjust one line while the other automatically adds to compensate. 

What I am doing is workable and will be easier the more I do it, but it would be nice to do something like Alt + click the line and move it along with the points along the line. Right now, if I change anything on a board and need to make line adjustments, it takes awhile to do so. 

Off topic: How are you creating you animations? 

Userlevel 7
Badge +12

@jtk - I am using Snagit. Once I record s short video of the screen, there is a “GIF” button under the video in the Snagit Editor.

A tip: When creating the GIF, do check the “Fade to Black” checkbox as this adds a fadeout effect at the end which serves as an indicator that the GIF is over and about to start its next loop, so the viewer has the visual queue that the clip has ended/started again.